Christmas Cookies Decorated with Royal Icing and Sprinkles
 By Emily Carter ·
Published
Quick answer
Bake a firm cut out sugar cookie that holds its edges, cool it fully, then outline with thick royal icing and flood the center with thinner icing. Add sprinkles while the icing is wet, or let it dry 8 hours and paint details on top. One batch makes about 24 decorated cookies.

Christmas cookies decorated with royal icing are the centerpiece of the holiday cookie tin. Start with a firm cut out sugar cookie that holds its shape in the oven, then outline, flood and decorate with smooth icing, sprinkles and edible glitter. The method is simple once you know the two icing thicknesses, thick for the outline and thin for the flood, and the finished cookies keep for a week and look like they came from a bakery.
Why you’ll love it
- A firm cookie that holds its shape, no spreading, no blurred edges.
- Two icing thicknesses do all the work, outline thick, flood thin.
- Sprinkles and glitter make every cookie look festive with almost no skill.
- Keeps for a week in a tin, so you can decorate days ahead.
- A perfect kid friendly project, flooding and sprinkling are the fun parts.
Ingredient notes
Butter and sugar: the firm base. A full cup of butter with a cup of sugar creams into a dough that is firm enough to hold cut out shapes, with just enough tenderness to bite cleanly. Room temperature butter mixes smoothly without melting.
Flour and baking powder: the structure. Three cups of flour with a teaspoon of baking powder give a cookie that holds its edges and stays flat for decorating. Too much flour makes a dry cookie, so spoon and level it.
Meringue powder: the icing secret. It makes royal icing that dries hard, shiny and smooth, with no raw egg white. Egg whites work in its place, but the icing dries softer.
Gel food coloring: the color. Gel gives deep red and green without thinning the icing, while liquid coloring waters it down and fades as it dries. A little gel goes a long way, so add it a drop at a time.
The two thickness rule that makes or breaks it
One rule decides whether your cookies look like a bakery made them or like the icing ran away: the outline and the flood are two different thicknesses. The outline icing is thick, straight from the bowl, and it pipes a clean border that sets in 5 minutes. The flooding icing is thinned with water a teaspoon at a time until it flows like honey, and it fills the middle and settles flat. Flood one cookie at a time, guide the icing to the edges with a toothpick, and pop any bubbles before they set. If the outline is still wet when the flood goes in, the icing runs off the edge, and if the flood is too thin, it never settles flat. Get the two thicknesses right and every cookie comes out smooth and sharp.
Variations
- Snowflake cookies: flood the cookies white, let them dry, then pipe thin blue lines and dots on top for a snowflake pattern.
- Red and white candy cane cookies: flood the cookies white and pipe thin red stripes across the top while the icing is still wet, then drag a toothpick through for a marbled stripe.
- Glitter cookies: sprinkle edible glitter over the wet flood icing for cookies that sparkle on the tree or the table.
- Monogram cookies: flood the cookies in one color, let them dry overnight, then pipe initials or a simple star on top with the thick icing.
What we learned testing it
- Meringue powder beat egg whites in the icing test. The meringue powder icing dried hard and shiny and held its color, while the egg white icing dried softer and dulled a little overnight.
- A 1/4 inch roll beat a 1/2 inch roll. The thinner cookies stayed flat and crisp for decorating, while the thick cookies domed and made the icing slide.
- Gel coloring beat liquid coloring clearly. Gel gave deep red and green without thinning the icing, while liquid coloring watered it down and faded as it dried.
Read how we test recipes.
Christmas Cookies Decorated with Royal Icing and Sprinkles
Makes About 24 decorated cookies · 8 hr 40 min total · Medium
Ingredients
For the royal icing
Equipment
Mixing bowls · Rolling pin · Cookie cutters · Baking sheets · Parchment paper · Piping bags · Small squeeze bottles · Wire rack
Instructions
-
Bake firm cut out cookies
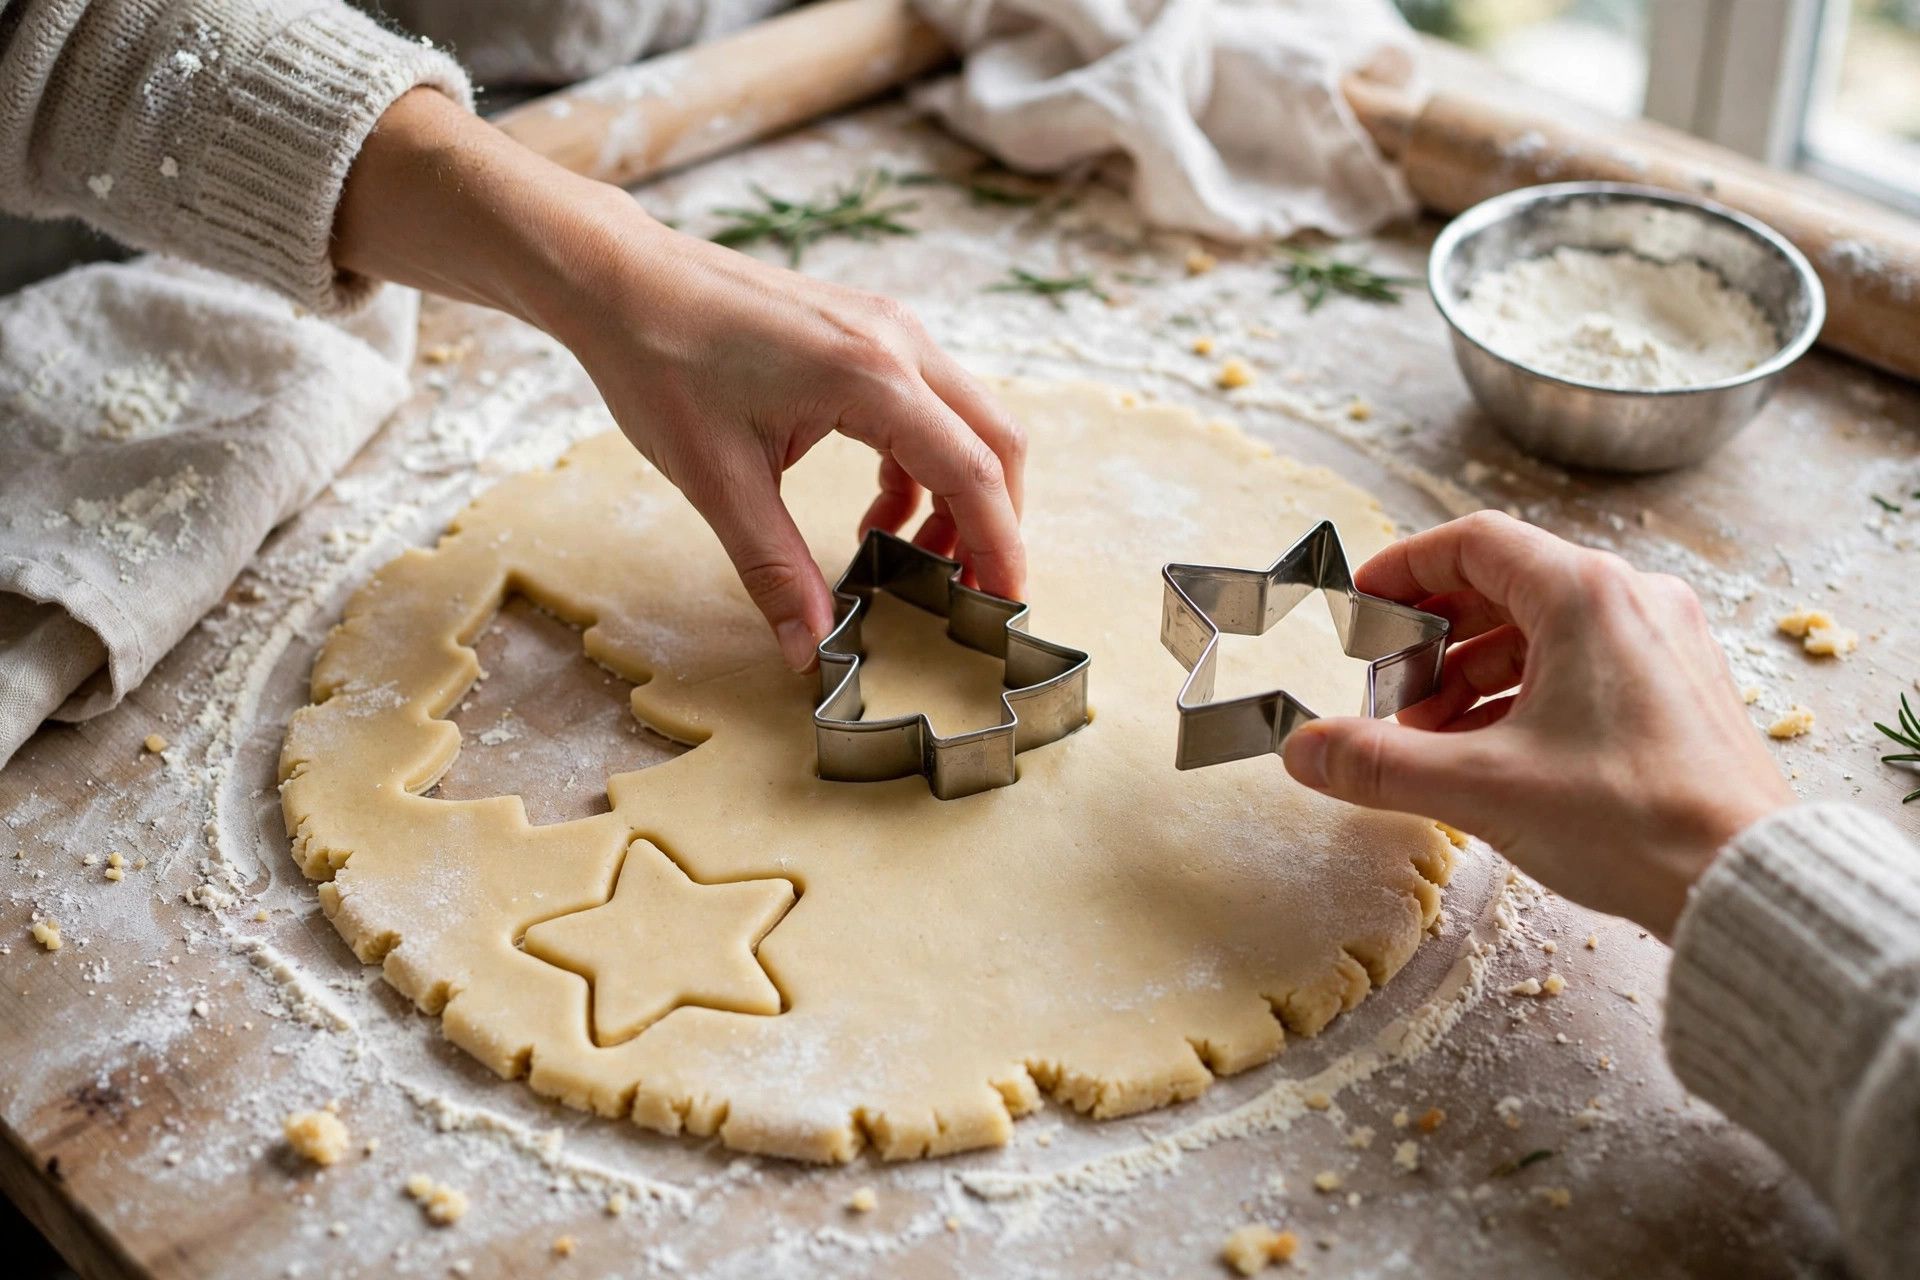
Beat the butter and sugar until light and fluffy, then beat in the egg and vanilla. Mix in the flour, baking powder and salt just until a firm dough forms. Roll the dough to 1/4 inch thick, cut out trees, stars and snowflakes, and bake at 350 degrees for 9 to 10 minutes, until the edges are just set. Cool the cookies completely on a wire rack, since warm cookies melt the icing.
-
Mix the royal icing
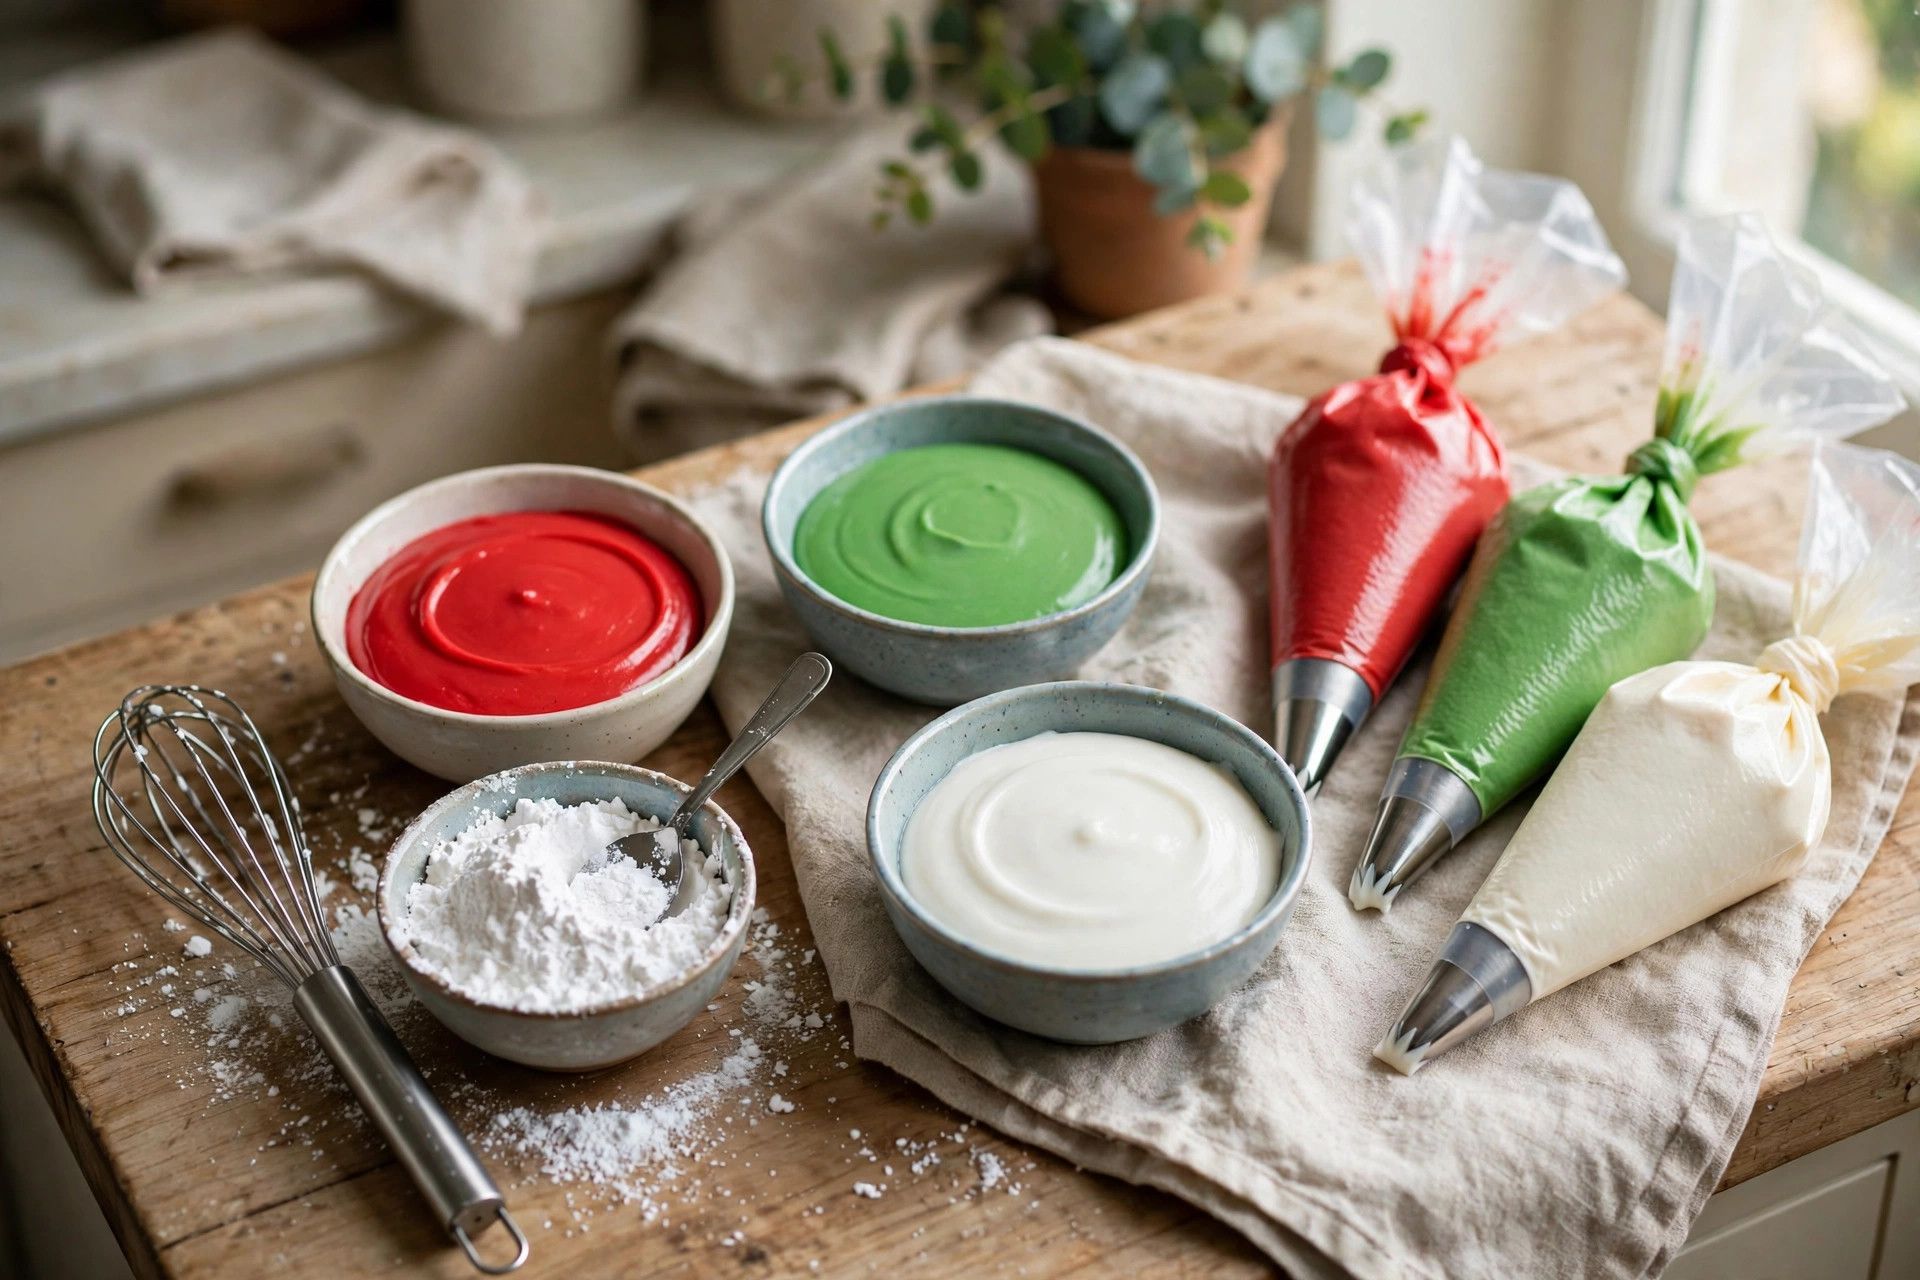
Beat the powdered sugar, meringue powder and water together for 3 to 4 minutes until the icing holds a stiff peak. Divide it into bowls and tint each one with gel food coloring. Keep one bowl thick for outlining, and thin the rest with water a teaspoon at a time until it flows like honey for flooding. Cover every bowl with a damp cloth so the icing does not crust.
-
Outline and flood each cookie
Pipe a thick outline around the edge of each cooled cookie and let it set for 5 minutes. Fill the middle with the thinner flooding icing and use a toothpick to guide it to the edges and pop any bubbles. Work one cookie at a time so the outline is set before the flood goes in, and the icing stays inside the border.

-
Decorate and dry overnight
Add sprinkles and edible glitter while the icing is still wet, or let the flooded cookies dry for 8 hours and pipe details on top with the thick icing. Let the finished cookies dry uncovered overnight until the icing is hard to the touch, then stack them between parchment in a tin.

Notes
- Chill the cut out dough for 15 minutes before baking if your kitchen is warm. Cold dough holds its shape, while warm dough spreads and blurs the edges.
- Cool the cookies completely before icing. Even a slightly warm cookie melts royal icing into a puddle.
- Keep the icing covered. Royal icing crusts in minutes when it meets air, so keep every bowl under a damp cloth while you work.
- Flood one cookie at a time. The outline needs 5 minutes to set, and a wet outline lets the flooding icing run off the edge.
Nutrition per serving
Nutrition information is being calculated.
Substitutions
- Meringue powder
- Use 2 egg whites instead, beaten with the powdered sugar and water. The icing will be a little softer when dry, so let the cookies dry a full 24 hours before stacking.
- Gel food coloring
- Use liquid food coloring, but add it a drop at a time. Liquid coloring thins the icing, so add less water to the flooding icing to make up for it.
- Royal icing
- Use a simple glaze of 2 cups powdered sugar whisked with 3 tablespoons of milk and 1/2 teaspoon of vanilla for a softer finish. It will not dry as hard, so stack the cookies with parchment between them.
Storage and make-ahead
Store decorated cookies in an airtight tin at room temperature for up to 1 week, layering them between parchment so the icing does not stick. Undecorated baked cookies keep for up to 2 weeks, or freeze them for up to 3 months and decorate after thawing. Do not refrigerate decorated cookies, since the fridge makes royal icing weep.
Frequently asked questions
How long does royal icing take to dry on Christmas cookies?
The surface sets in about 8 hours, and the icing is fully hard in 12 to 24 hours. Let decorated cookies dry uncovered overnight before stacking them, and keep them away from humidity while they dry.
Why does my royal icing run off the cookie?
The outline was too thin or still wet, or the flooding icing was too runny. Pipe a thick outline, let it set 5 minutes, and thin the flooding icing only until it flows like honey, not like water.
Can kids help decorate Christmas cookies?
Yes, this is one of the best kid friendly holiday projects. Kids can flood the cookies and add sprinkles while an adult handles the outlining and the piping bags.
Do I have to chill the cookie dough before cutting shapes?
Not always, but it helps in a warm kitchen. This dough is firm enough to cut at room temperature, but a 15 minute chill keeps the shapes sharp and stops the edges from spreading in the oven.
Can I make decorated Christmas cookies ahead of time?
Yes. Bake the cookies up to 2 weeks ahead and store them plain, or freeze them up to 3 months. Decorate them 1 to 2 days before you need them so the icing has time to dry hard.