Easy Christmas Fudge with Festive Swirl
 By Emily Carter ·
Published
Quick answer
Melt 3 cups of semisweet chocolate chips with one 14 ounce can of sweetened condensed milk and 2 tablespoons of butter over low heat, stirring until completely smooth. Stir in the vanilla and salt, pour into a foil lined 8 inch square pan and top with holiday sprinkles. Chill 2 hours until firm, then cut into 36 small squares.
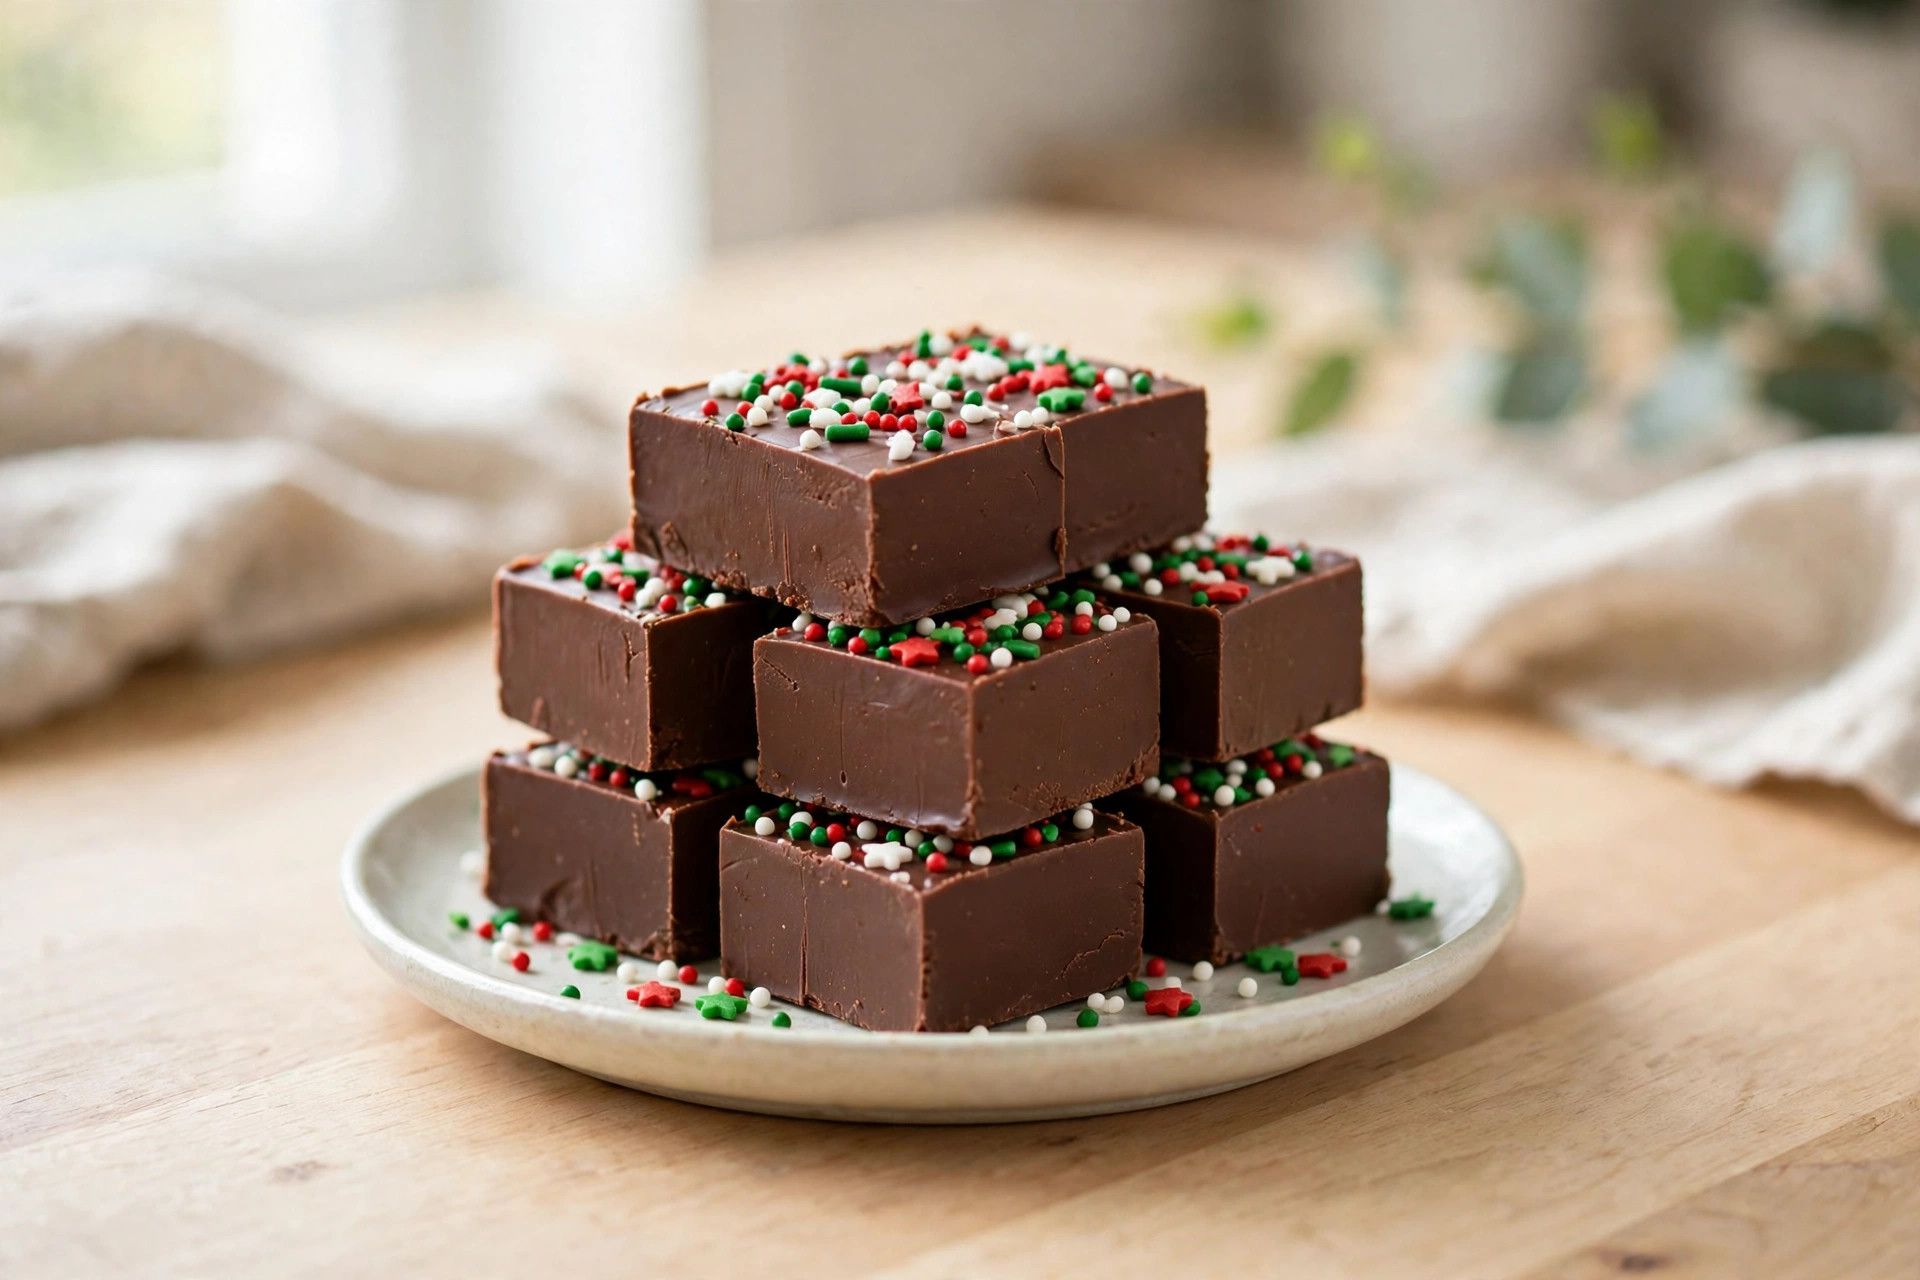
Easy Christmas Fudge with Festive Swirl is the holiday candy I make when the cookie trays are full but the gift boxes are not. Three ingredients melt into one glossy pan, holiday sprinkles go on top, and two hours in the refrigerator does the rest. It cuts into neat little squares that taste rich and smooth, and it keeps for weeks, which makes it the easiest edible gift on my Christmas list.
Why you’ll love it
- Three main ingredients and 10 minutes of hands on time, then the refrigerator does the work.
- No candy thermometer, no boiling sugar and no fussy technique to learn.
- Cuts into 36 neat squares, perfect for gift boxes and cookie trays.
- Keeps for 2 weeks at room temperature, so you can make it well ahead of the holidays.
- Kids can scatter the sprinkles, which makes it a fun one to make together.
Ingredient notes
Chocolate chips: semisweet is the sweet spot, rich but not sugary. Good chips melt smoother than bargain ones, and in a three ingredient fudge you taste the difference.
Sweetened condensed milk: the magic ingredient. It sweetens and sets the fudge in one step, with none of the boiling that old fashioned fudge demands. Do not swap in evaporated milk, it will not set.
Butter: just 2 tablespoons for silkiness. It keeps the fudge from tasting flat and gives it that smooth, melt in your mouth texture.
Vanilla and salt: small amounts, big job. The vanilla rounds the chocolate and the salt keeps the sweetness in check.
Holiday sprinkles: add them while the fudge is still warm so they stick. Jimmies hold their color best, while nonpareils can bleed a little into the warm surface.
Low heat is the whole trick
There is exactly one way to ruin this fudge, and it is impatience. Chocolate scorches above a gentle heat, and scorched chocolate turns grainy and bitter with no way back. So use the lowest setting your burner has, stir constantly, and pull the pan off the heat while a few chips are still visible. The residual heat finishes the melting as you stir, and the fudge turns glossy and smooth. If you are nervous, melt it in a heatproof bowl over simmering water instead, which is nearly impossible to scorch. Either way, low and slow is the entire technique, and it is the difference between silky squares and a grainy pan.
Variations
- Peppermint fudge: stir 1/2 teaspoon of peppermint extract in with the vanilla and top with crushed candy canes for a classic Christmas combo.
- Rocky road fudge: fold in 1 cup of mini marshmallows and 3/4 cup of chopped toasted walnuts before pouring for a chunky, nostalgic version.
- Salted caramel fudge: drizzle caramel sauce over the poured fudge and swirl it with a toothpick, then finish with flaky sea salt instead of sprinkles.
- White chocolate cranberry fudge: swap in white chocolate chips, fold in 3/4 cup of dried cranberries and chill 3 hours, since white chocolate sets softer.
What we learned testing it
- I tested stovetop against microwave melting. The stovetop batch was smoother, while the microwave batch seized in one test from a hot spot. Low stovetop heat wins.
- Sweetened condensed milk versus evaporated milk was no contest. Evaporated milk never set properly, while condensed milk gave firm, sliceable fudge every time.
- Cutting at 2 hours gave clean squares, while cutting at 1 hour gave soft, squished edges. Full chill time matters more than it seems.
Read how we test recipes.
Easy Christmas Fudge with Festive Swirl
Makes 36 pieces · 2 hr 20 min total · Easy
Ingredients
Equipment
Medium saucepan · Wooden spoon or spatula · 8 inch square pan · Aluminum foil
Instructions
-
Melt the chocolate low and slow
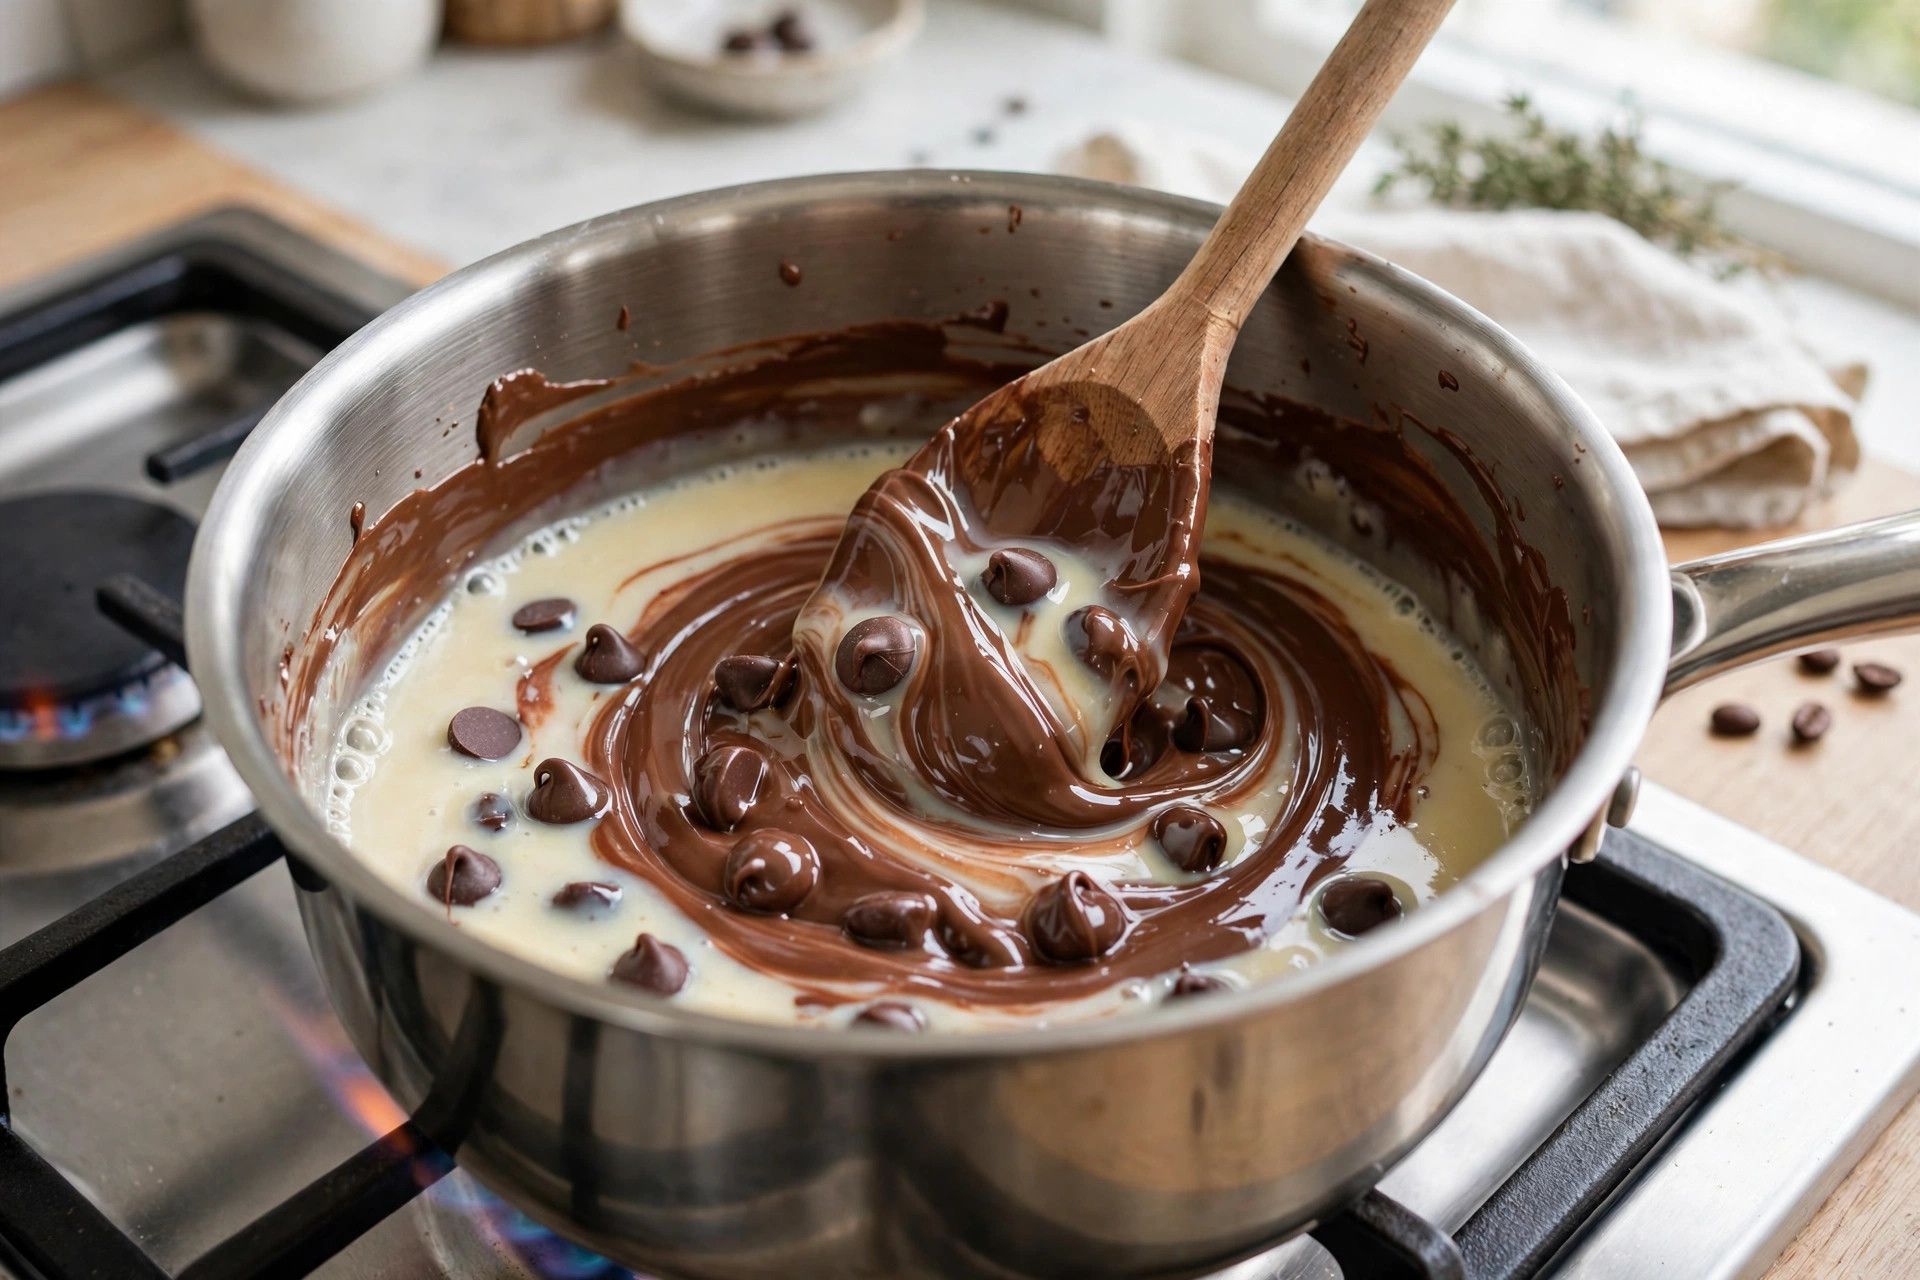
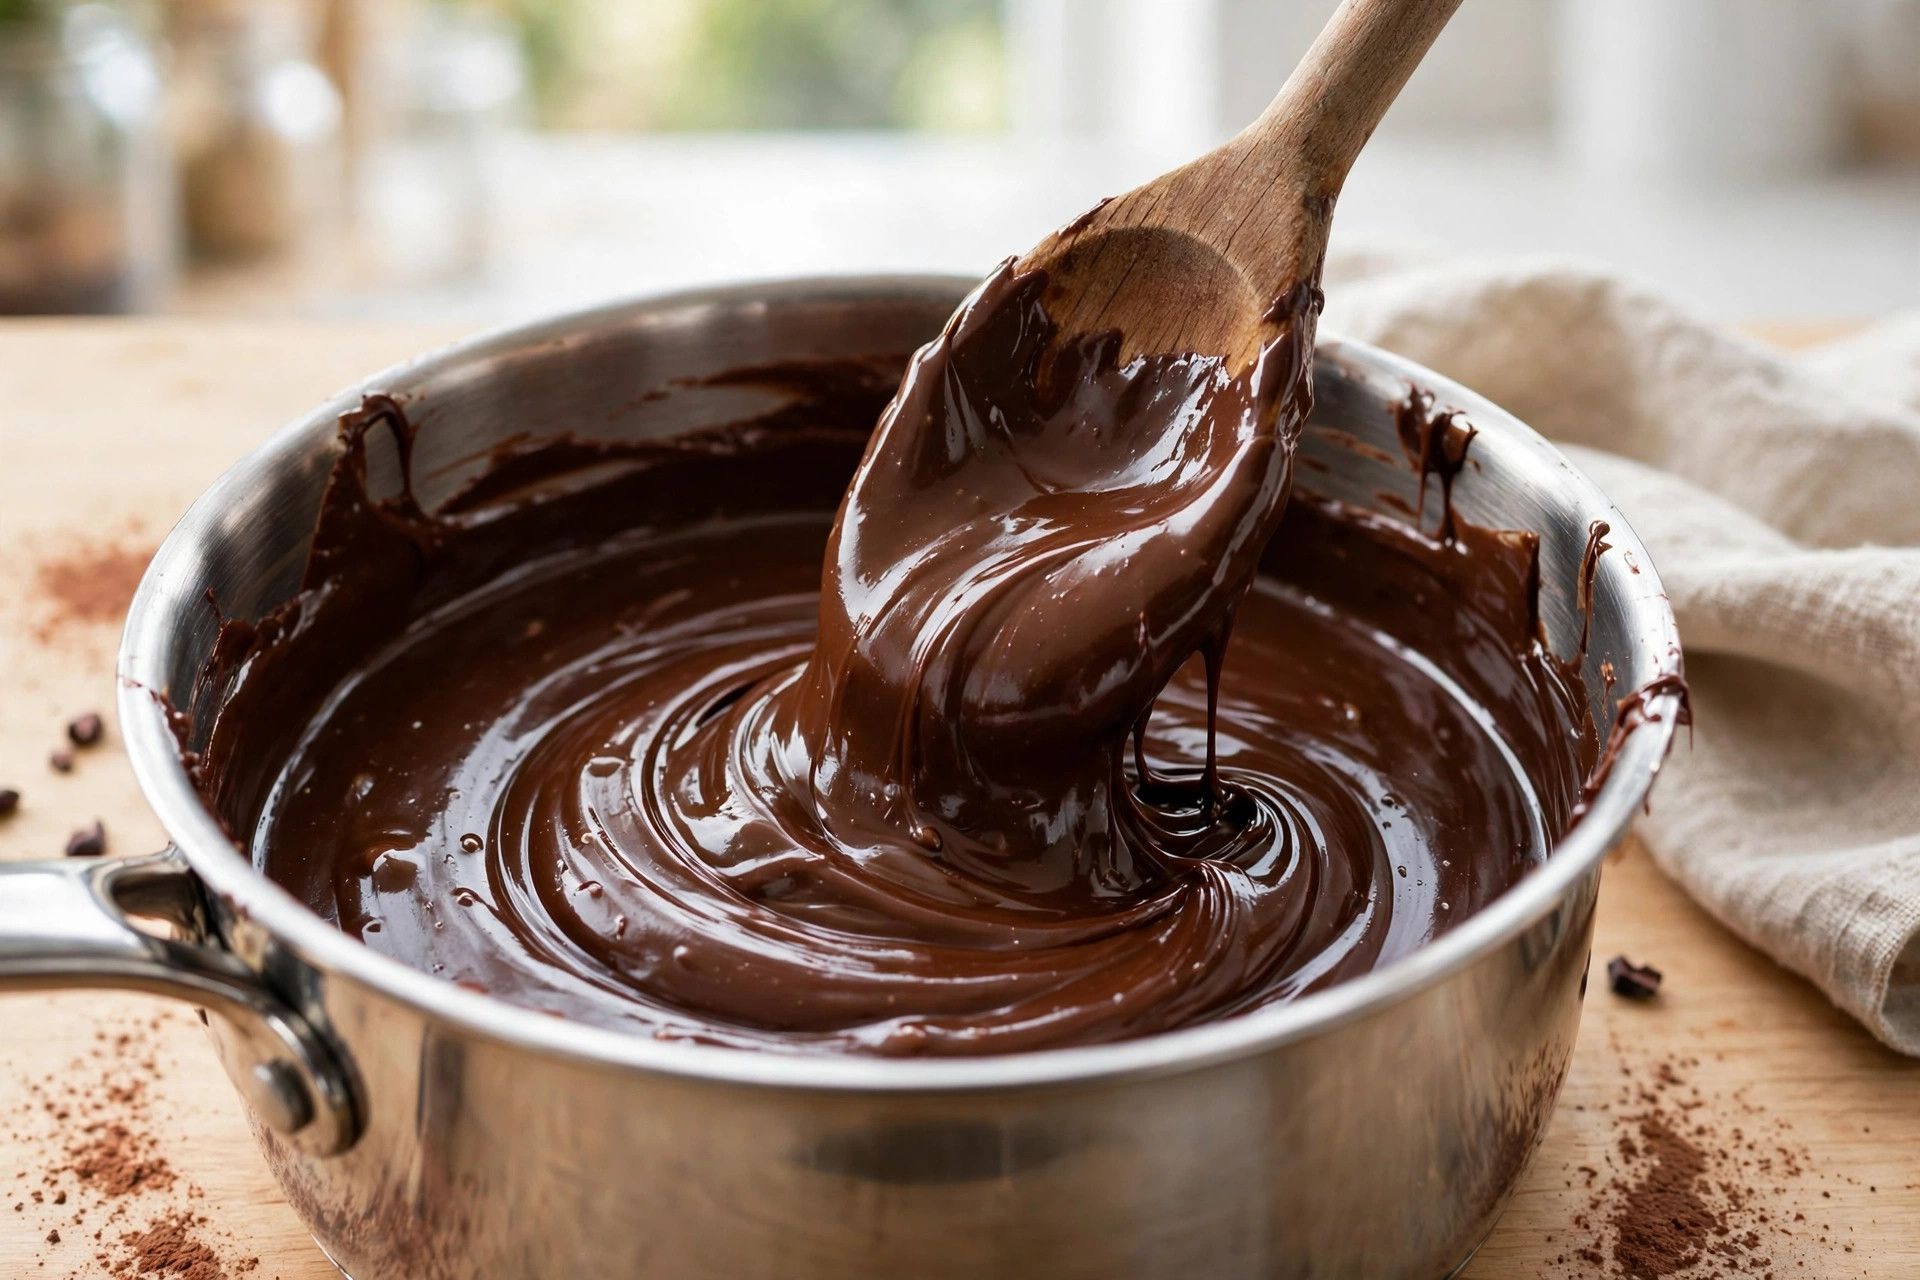
Combine the chocolate chips, sweetened condensed milk and butter in a medium saucepan over the lowest heat. Stir constantly with a wooden spoon, scraping the bottom and corners, until the chips melt. Low heat is the whole trick, since high heat scorches chocolate and turns the fudge grainy.
-
Stir until completely smooth and glossy
Keep stirring off the heat until the mixture is completely smooth and glossy, with no chips left unmelted. Stir in the vanilla and salt. The fudge should look thick and shiny, and fall from the spoon in a slow ribbon. If you see any lumps, keep stirring, since the residual heat melts them.
-
Pour into the pan and add sprinkles
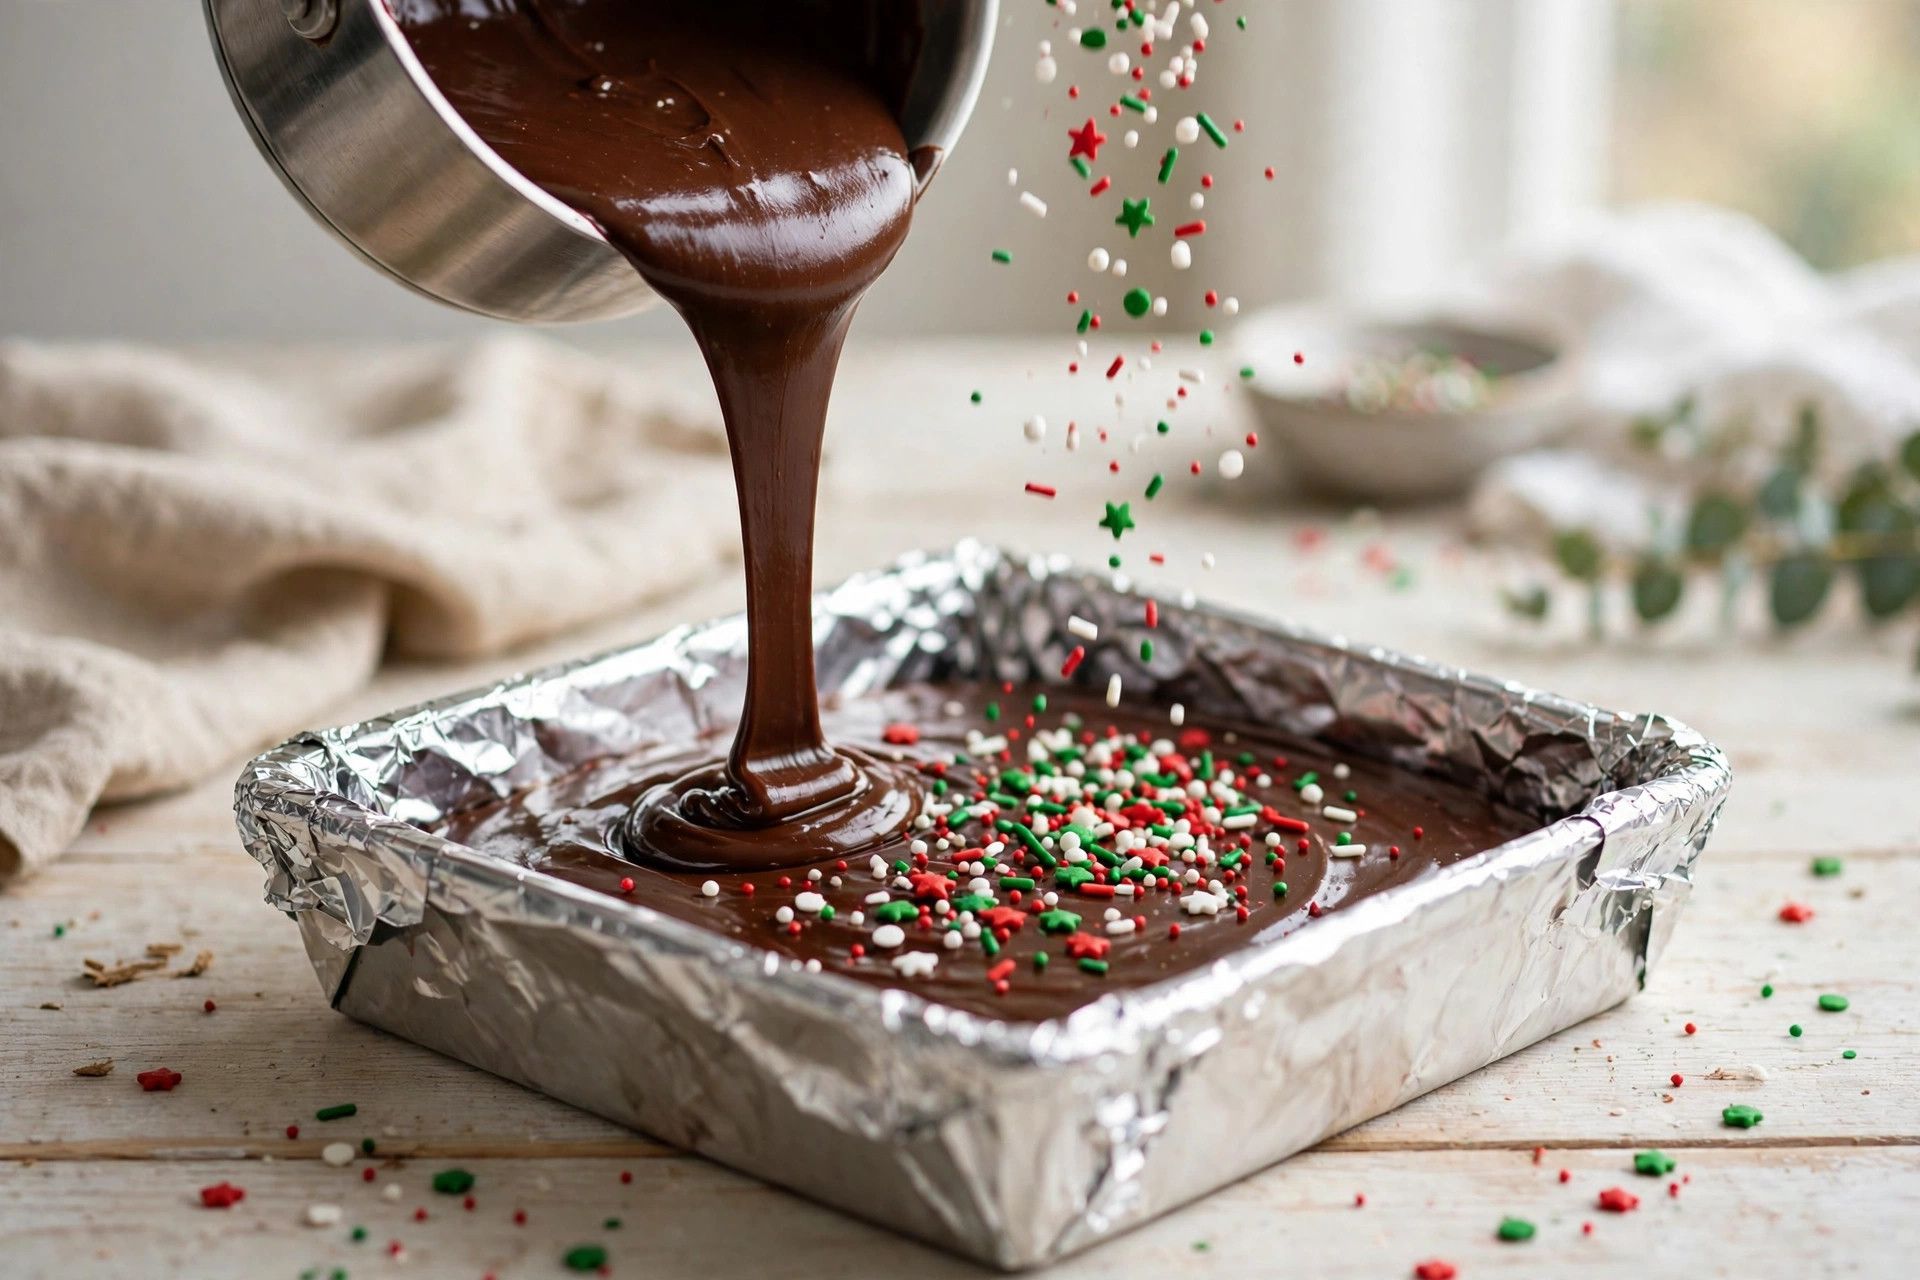
Line an 8 inch square pan with foil, leaving overhang on two sides for easy lifting. Pour in the fudge and spread it into the corners with the spatula. Scatter the holiday sprinkles evenly over the top and press them in very lightly so they stick. Work quickly, since the fudge starts to set as it cools.
-
Chill until firm, then cut into squares
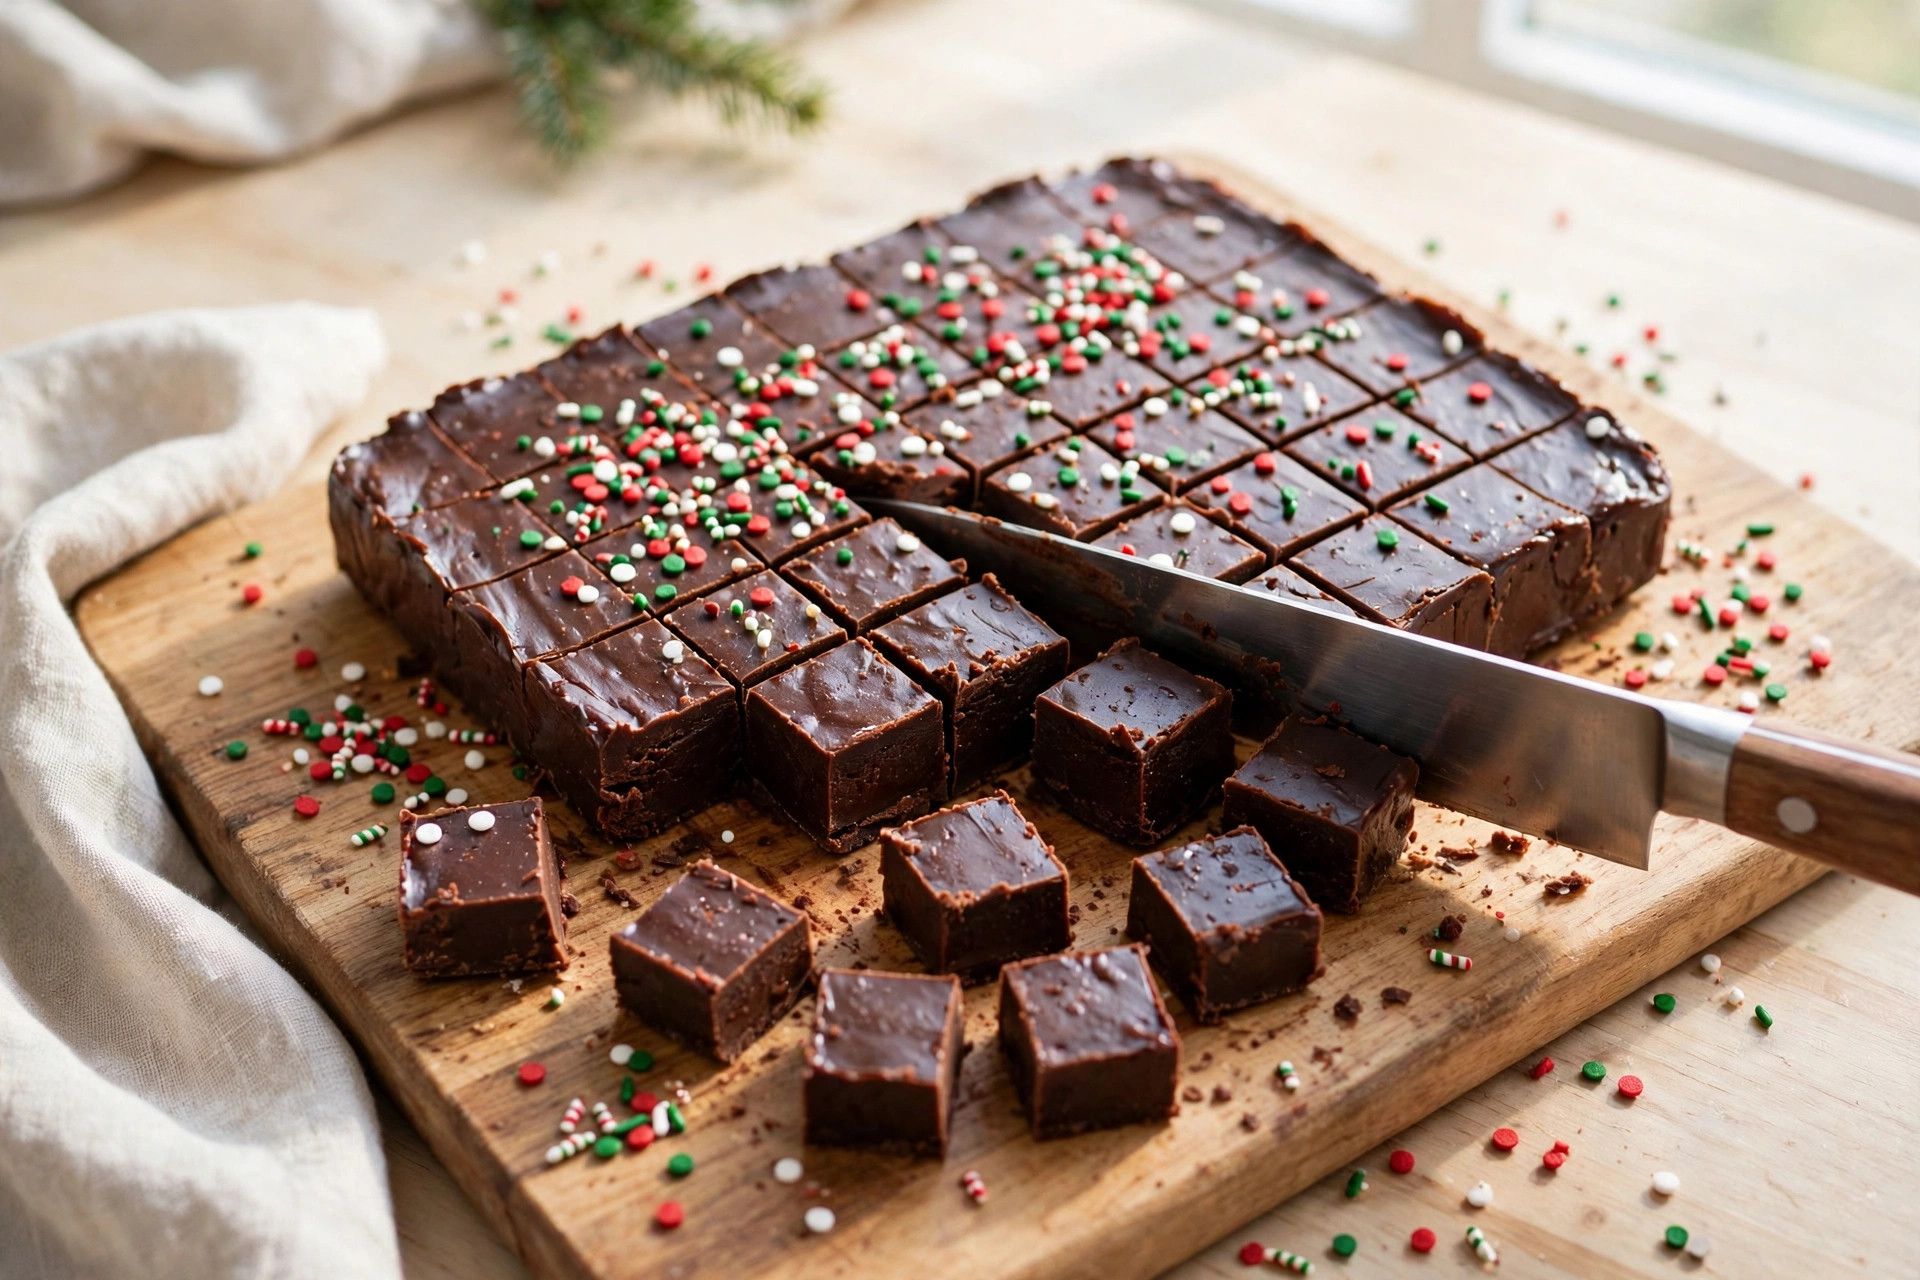
Chill the pan for 2 hours, or until the fudge feels completely firm to the touch. Lift it out by the foil overhang and peel the foil away. Cut into 36 small squares with a sharp knife, wiping the blade clean between cuts for neat edges. Small squares are rich enough, and they make the pan go further.
Notes
- Use the lowest heat your burner offers. Chocolate scorches fast, and scorched chocolate cannot be saved, so patience here pays off.
- Scatter the sprinkles right after pouring. If the fudge cools too much first, the sprinkles sit on top instead of sticking.
- For extra clean cuts, run the knife under hot water and dry it between slices. Warm blades glide through firm fudge.
- Do not use chocolate with less than 50 percent cocoa for the chips. Very sweet chocolate makes a fudge that tastes like pure sugar.
Nutrition per serving
Nutrition information is being calculated.
Substitutions
- Semisweet chocolate chips
- Use dark chocolate chips for a deeper, less sweet fudge, or milk chocolate chips for a sweeter, creamier one. White chocolate works too, but it sets softer, so chill it 3 hours.
- Unsalted butter
- Use salted butter and skip the added salt. The fudge tastes the same, and the butter still keeps the texture silky.
- Holiday sprinkles
- Top with crushed candy canes, chopped toasted pecans or flaky sea salt instead. Each one changes the look and the crunch completely.
Storage and make-ahead
Store the fudge in an airtight container at room temperature for up to 2 weeks, layered between parchment. It also keeps in the refrigerator for up to 1 month, though it tastes best closer to room temperature. Freeze for up to 3 months, and thaw overnight in the refrigerator.
Frequently asked questions
Why is my christmas fudge grainy?
Grainy fudge almost always means the chocolate got too hot. Melt it over the lowest heat, stir constantly and pull it off the burner while a few chips are still visible. They melt in the residual heat.
Can I make christmas fudge in the microwave?
Yes. Microwave the chips, condensed milk and butter in 30 second bursts, stirring well between each one. Stop when a few chips remain and stir until smooth, since microwaves create hot spots that seize chocolate.
How long does christmas fudge need to chill?
Two hours in the refrigerator is the minimum for clean cuts. In a warm kitchen give it 3 hours, since fudge that is still soft at the center cuts into ragged squares.
Can I double this christmas fudge recipe?
Yes, it doubles well. Use a 9 by 13 inch pan instead, keep the heat low and stir a little longer since the bigger batch takes more time to melt evenly.
Why did my fudge not set?
Fudge that never firms usually means the chocolate to condensed milk ratio was off, often from using evaporated milk by mistake. Check the can says sweetened condensed milk, and give the full 2 hour chill before judging.